Reliable school talent show sound starts with prepared music files, tested microphones, and a clear cue for every performance. When teachers, volunteers, and student performers know their roles, the audience can focus on the talent rather than the transitions.
A familiar song still needs careful preparation; the right backing track, comfortable vocal range, and rehearsed microphone handoff all support a confident performance. Start with clear responsibilities, then build the sound plan around the students and the room.
Key Takeaways
- Choose music that suits the performer’s abilities, the audience, and the school’s expectations.
- Prepare approved playback files offline, document each start and stop, and test a separate backup source.
- Assign one person to authorize stage cues, rehearse microphone handoffs, and test sound throughout the seating area before doors open.
Choose Songs That Fit the Performer and Audience
Song selection affects more than audience engagement. It also determines whether the act needs a backing track, live accompaniment, additional microphones, or an instrument connection.
Pop, Rock, R&B, and Musical Theater Options
These familiar selections provide starting points across several styles.
| Style | Songs to Consider |
|---|---|
| Pop | “Shape of You” by Ed Sheeran; “Roar” by Katy Perry; “Counting Stars” by OneRepublic |
| Rock | “Livin’ on a Prayer” by Bon Jovi; “Seven Nation Army” by The White Stripes; “Highway to Hell” by AC/DC |
| R&B | “Say My Name” by Destiny’s Child; “Superstition” by Stevie Wonder; “Ain’t No Sunshine” by Bill Withers |
| Musical theater | “Defying Gravity” from Wicked; “On My Own” from Les Misérables; “Don’t Rain on My Parade” from Funny Girl |
Treat these as possibilities rather than automatic school approval. Lyrics, themes, and the chosen recording should suit the students’ ages and the event’s expectations.
Match the Song to Vocal Range
A recognizable title doesn’t guarantee a comfortable performance. Sing the entire selection during rehearsal, including its highest notes, lowest phrases, and final chorus.
Choose a song that stays comfortable throughout. If a student strains to finish it, another selection will support better singing and greater confidence.
Consider the audience’s age, interests, and the show’s theme as well. A selection that suits the performer and the occasion gives the audience a stronger connection to the act.
Give Bass and Guitar Performances a Clear Plan
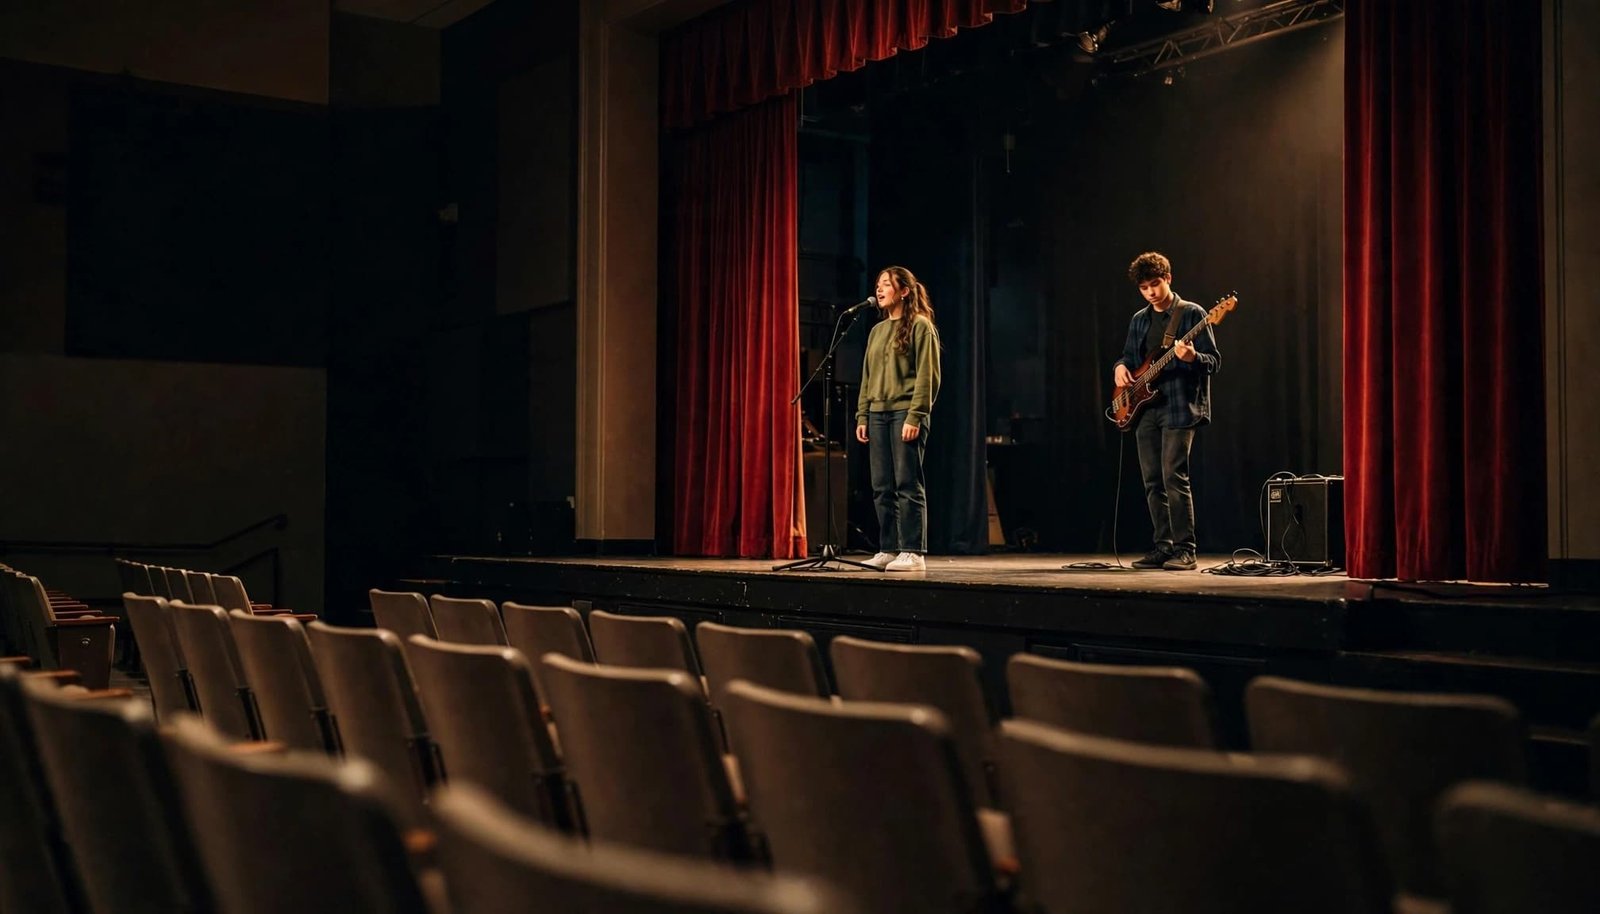
For bass players, “Sweet Child o’ Mine” by Guns N’ Roses and “Sweet Emotion” by Aerosmith offer classic-rock parts with melodic interest. Marcus Miller’s arrangement of The Beatles’ “Come Together” is another solo-bass option to explore.
Difficulty depends on the student’s ability. Describe what they can already play confidently, then select an arrangement they can sustain through the full performance.
Familiar music can also help judges follow the playing. A recognizable song, or a Christmas carol for a seasonal show, gives listeners a useful reference.
For either instrument, identify whether the act is solo or accompanied. Include its instrument connections and any vocal microphone in the shared sound plan.
Rehearse the Complete Performance
Preparation should include the entrance, music cue, microphone position, and ending. Practicing only the middle of a song leaves important transitions unresolved.
Use the Actual Backing Track or Accompanist
Rehearse with the same backing-track version planned for the show. Introductions, pauses, and endings can differ between recordings, even when the song title matches.
If a pianist or other accompanist is involved, practice together rather than relying entirely on separate rehearsals. Agree on how the performer signals readiness and how the final note ends.
Choreography is optional. Add movement only when the student can maintain clear singing, comfortable microphone placement, and confident stage presence.
Record a Full Run-Through
Record a rehearsal and listen for missed entrances, unclear words, uneven pacing, and places where accompaniment covers the voice. A phone recording can reveal problems the performer misses while concentrating on singing.
Ask a teacher or mentor for focused feedback. Specific guidance about an entrance or phrase is easier to apply than a general instruction to practice more.
Finish with another complete run-through so the improvements become part of the performance.
Prepare Music Playback Before Show Day
Consistent playback keeps the program organized and reduces pressure on the person running sound. One designated operator should manage the performance files.
Build a Usable Cue Sheet
Collect the approved final file for each act and label it with the act number, performer, song, and version. Keep the running order beside the playback controls.
For each selection, record the intended starting point, ending instruction, and whether the student begins immediately or waits through an introduction. Note any planned fade or abrupt stop.
Use one cue owner to authorize playback. “Stand by” means prepare; “go” means start. Students shouldn’t need to guess whether the operator has seen them take their position.
Last-minute file replacements should go through the same person so the operator isn’t choosing between competing versions during the show.
Keep Playback Available Offline
Store local files on the primary playback device and a separate backup device. Test both through the event system, including their connections and adapters.
Disable notifications and automatic playback that could interrupt an act. Avoid depending on a student’s streaming account or the school’s Wi-Fi for performance music.
Our school event equipment checklist includes backup music sources, duplicate files, spare cables, and adapters. Keep those replacements accessible, with a named person responsible for switching sources if playback fails.
School Talent Show Sound Checks That Protect Clarity
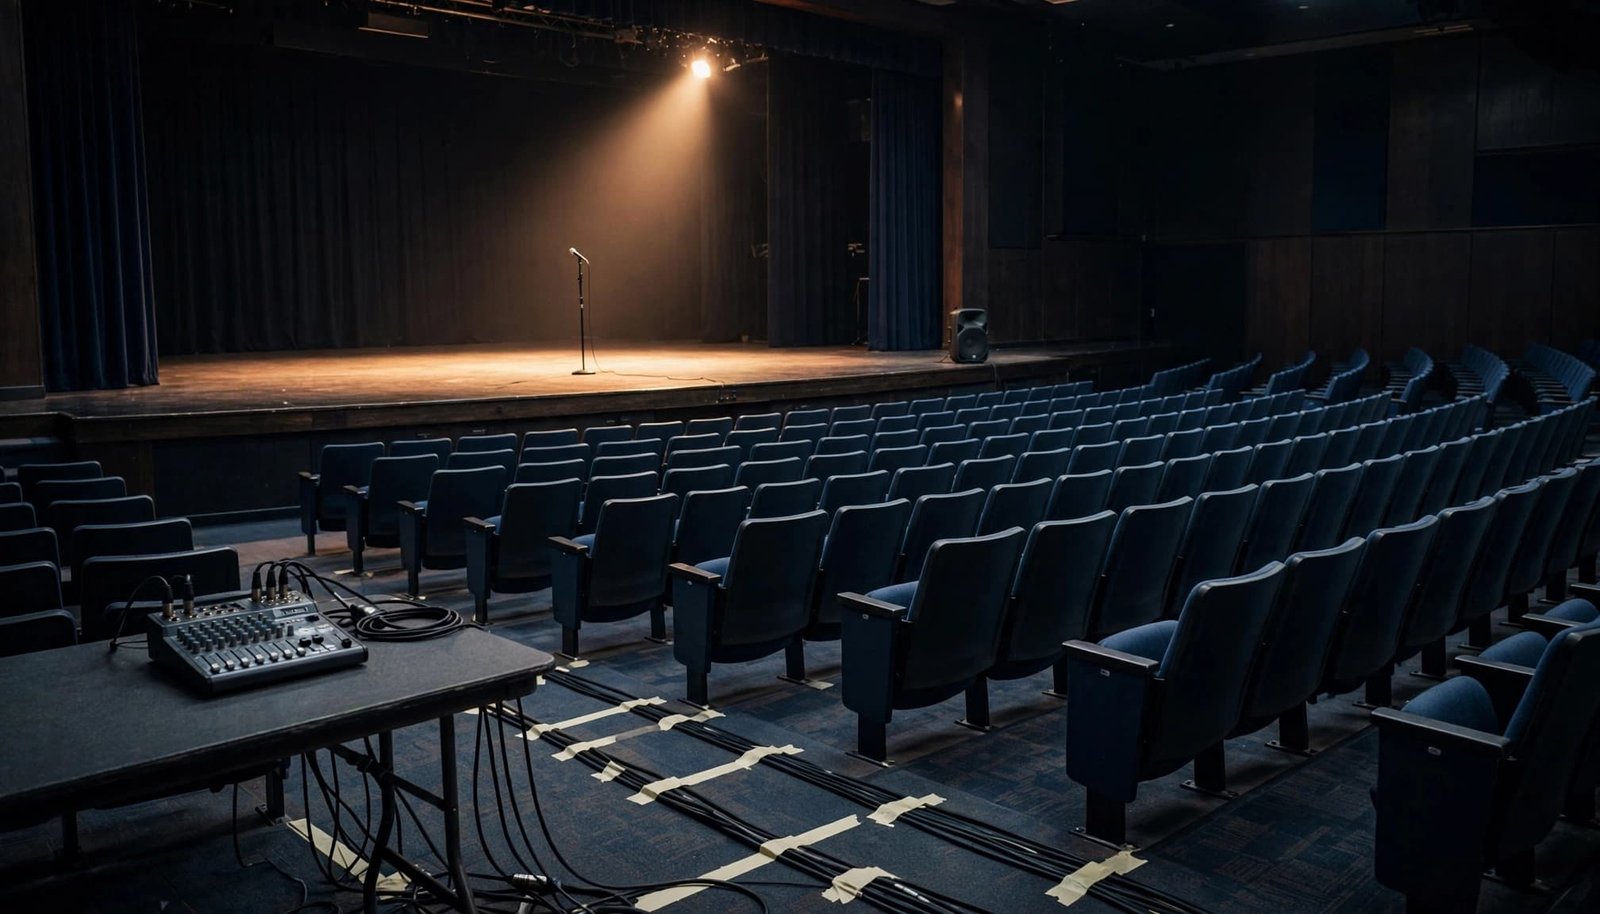
A sound check should use the actual microphones, music files, and performance positions. Testing whether equipment turns on is only the beginning.
Choose Microphones by Performance Needs
Handheld microphones work well for introductions, singing, and shared use. Wired microphones offer dependable operation; wireless microphones provide greater freedom of movement.
Our comparison of wired and wireless microphones explains the practical trade-offs. Choose according to the student’s movement and the stage layout.
Test each microphone with its intended performer whenever possible. Review battery condition, mute controls, and the full performance area. Keep a tested wired microphone ready as a backup.
An adult should manage equipment changes. Keep cables protected and clear of exits, aisles, and accessible routes.
Listen Beyond the Mixing Position
Walk the front, sides, and rear of the seating area while someone speaks and sings. A voice that sounds clear beside the operator may be difficult to understand farther away.
Our school gym sound-check checklist helps organize testing in reflective spaces. Adjust coverage and placement before assuming the room needs more volume.
Keep microphones behind the main speakers where practical, and mute unused microphones. Feedback occurs when amplified sound returns through an open microphone.
Use reverb and delay sparingly. Excessive vocal effects can blur words and make a student’s performance harder to follow.
Practice Every Microphone Handoff
A smooth handoff requires coordination between the host, performer, stage helper, and sound operator. Give each person a clear responsibility before the audience arrives.
Rehearse this sequence for every act that shares a microphone:
- The stage helper confirms the next performer is ready and the correct microphone is available.
- The host introduces the act while the operator prepares its music file and microphone channel.
- The operator mutes the shared microphone for the transfer, then restores it once the student is in position.
- The cue owner gives the agreed start signal after the performer and operator are ready.
- At the end, the operator follows the planned music stop, mutes the performance microphone, and returns control to the host.
When the host and performer have separate microphones, the host can finish the introduction while the student gets settled. Avoid competing announcements or instructions during the opening music.
Our microphone planning checklist reinforces the value of assigned microphones and rehearsed transitions.
A microphone can remain powered on while its mixer channel is muted. Let the operator control when it reaches the speakers.
Give students a simple instruction: keep the microphone directed toward their mouth, don’t tap or blow into it, and return it to the assigned helper.
Also agree on an emergency stop signal. If equipment fails or a safety issue develops, staff should pause the performance and coordinate the restart.
Frequently Asked Questions
What If a Student Has a Limited Vocal Range?
Choose a song whose full melody stays comfortable, rather than selecting by popularity alone. Rehearse the complete arrangement because a manageable opening can lead into a demanding chorus.
If the student consistently strains or loses control in the same passage, choose another song. Clear, confident singing is more effective than struggling through an ambitious selection.
What Should Happen If the Backing Track Stops?
The performer should pause and look toward the designated stage helper. The host can calmly address the audience while the operator prepares the tested backup source.
Decide during rehearsal whether the act will restart at the beginning or at an agreed cue. A planned response keeps several adults from giving conflicting instructions.
Give Every Performer a Confident Start
Successful school talent show sound depends on preparation, clear communication, and reliable transitions. Comfortable song choices and rehearsed playback cues give students room to concentrate on their performance.
Before doors open, run the opening introduction and one complete microphone handoff through the actual system. That final rehearsal connects the cue sheet, equipment, and people into a shared plan.
When everyone knows what happens next, the talent stays at the center of the show.