A school gym can make a great music set sound muddy, harsh, or uncomfortable when the sound system isn’t checked. A professional DJ sound check isn’t about proving how loud the speakers can get. It’s about sound quality, intelligible announcements, even coverage, comfortable listening, and a safe setup that supports the full event.
Gymnasiums are large, reflective rooms with hard floors, walls, ceilings, and often metal bleachers. Completing an audio check before students arrive helps create a polished, energetic, and well-managed dance.
Key Takeaways
- Start the DJ sound check by listening to the empty gym and assessing reflections, echo, room layout, and expected listening areas.
- Place speakers to provide even coverage over the dance floor, keep them away from walls and corners when possible, and confirm coverage from the front, center, and rear of the room.
- Coordinate the room layout, power access, approved volume, playlist, and safety procedures with school staff before load-in.
- Protect students and equipment by securing stands, covering cable crossings, keeping exits clear, preventing feedback, and monitoring listening levels.
- Complete a final room-wide sound check with representative listeners, keep backup equipment ready, and pause playback whenever a safety or equipment problem occurs.
Start With the Gymnasium, Not the Equipment
Every gym sounds different. The room’s size, ceiling height, court layout, bleachers, decorations, and expected crowd all affect the final sound. A system that works well in a banquet room may need a different approach in a high school gym.
Listen to the Empty Room First
Walk the gym before setting up speakers or lighting. Clap your hands and speak at a normal presentation level. Notice whether your voice bounces around the room, lingers near the ceiling, or becomes unclear by the bleachers.
After this listening test, use the first sound check to judge speech clarity at normal presentation level.
Hard surfaces reflect sound instead of absorbing it. Polished wood floors, brick walls, glass trophy cases, folded bleachers, and basketball backboards can all create echo. A packed dance floor will absorb some sound later. An empty gym can make bass and vocals seem stronger than they will during the event.
Measure the room’s practical use, not only its square footage. Identify the dance area, tables, photo station, and refreshment area. Mark entrances, exits, staff positions, and areas students should not enter.
Plan Speaker Placement Around the Dance Floor
Place the DJ system where it can cover the intended dance floor. Don’t fire sound directly into a wall of bleachers. Raise speakers on stable stands and aim them toward listeners, not across the entire building.
After placing them, use a second sound check. Reassess the room before changing EQ or volume. Use a speaker check to confirm stand stability and aiming. Have the DJ play speech, full-range music, and low-level bass from each main speaker during one speaker test.
Good placement creates better coverage at a lower volume. Both gymnasium speaker coverage guidance and this gym sound-system setup overview emphasize matching speaker placement to the area where people need to hear.
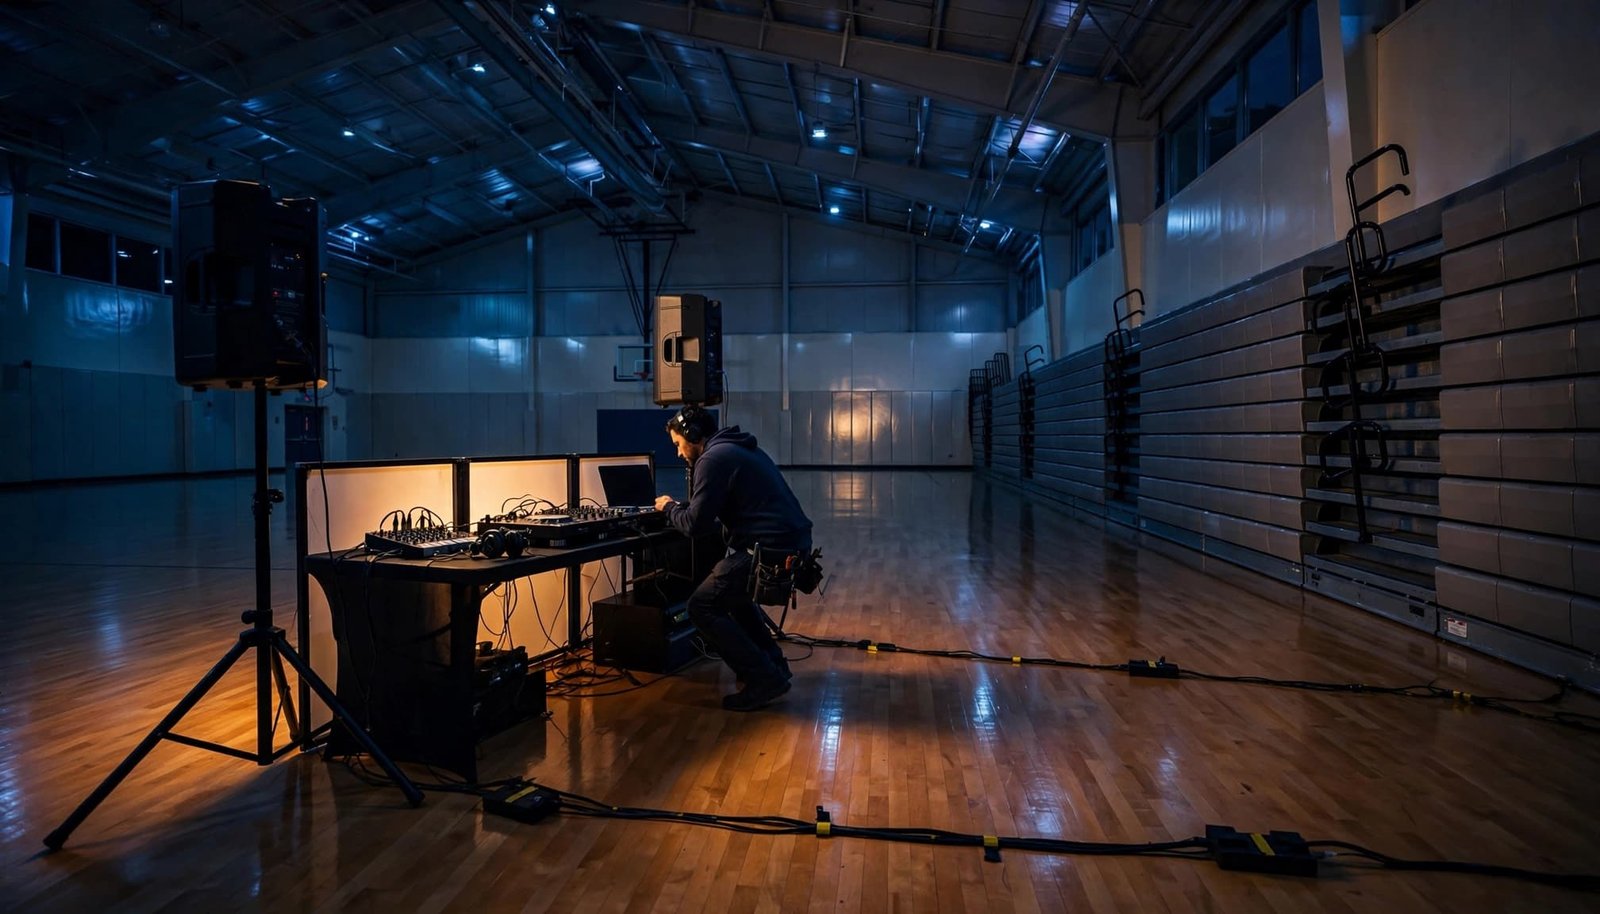
From several positions, run another speaker check to compare left and right coverage. Near the bleachers and walls, make a final speaker check for harsh reflections. Use a final sound check to compare the front, center, and rear listening zones.
Bass-heavy material can exaggerate corner buildup, especially in an empty gym. Keep the bass test brief and quiet. Bass boosted tracks, extreme DJ bass, hard bass, and a strong bass drop aren’t reasons to raise the master volume.
For the listening sample, use varied, school-approved program material. Include DJ music, a viral DJ song, and a DJ Krishna track instead of relying on one bass-heavy track.
Keep these points in mind:
- Aim main speakers over the first rows of dancers, not directly at nearby students. This supports even coverage at a lower volume.
- Keep speakers clear of basketball equipment, curtains, bleacher traffic, and decorative displays. Maintain clear sightlines for staff and students.
- Place subwoofers where they are protected from feet, drinks, and curious hands.
- Avoid placing a speaker in a corner unless testing confirms the bass response is acceptable.
A speaker pushed against a gym wall can make the nearest area sound loud while the center of the dance floor still feels weak.
Coordinate With School Staff Before Load-In
A successful school dance depends on more than the DJ booth. The activity coordinator, custodian, administrator, chaperones, and DJ should approve the room plan, power access, and playback limits before equipment is powered on.
Confirm the Approved Layout
Ask where the school wants the DJ station, dance floor, check-in table, coat area, refreshments, medical support, and chaperones. A setup that looks good on paper can create problems if it blocks a doorway or reduces staff visibility.
The DJ area should be visible, secure, and positioned so announcements can reach the room. Staff also need a direct way to communicate if a song, announcement, schedule change, or student concern requires attention.
Assign one staff member to own the speaker check, including speaker positions, stand stability, and restricted areas. Keep exits, fire equipment, doorways, and staff paths unobstructed throughout load-in.
Staff should attend the final room-wide sound check before doors open. If staff pre-approve tracks for testing or programming, they can choose a JBL DJ song, viral DJ song, competition song, DJ Krishna selection, or trending song; all selections need clean edits, suit the school’s audience, and reflect the actual event.
A bass test and a bass boosted track should both be played only at a low diagnostic level, never to justify unsafe volume.
Before load-in, confirm:
- Which doors will remain unlocked and available as emergency exits.
- Where students will enter, line up, and leave at the end of the night.
- Whether bleachers will stay open, closed, or restricted.
- Which staff member can approve changes to the room layout or the sound level during the sound check.
Check Power Before You Plug In
Ask facilities staff to approve the circuits used for DJ equipment. Use equipment input ratings or the manual, rather than marketing output wattage, when planning circuits.
At 120 volts, a 600-watt load draws about 5 amps, while a 1,200-watt load draws about 10 amps. Treat the speakers, subwoofers, lighting, wireless microphones, laptops, and controllers as one coordinated sound system load.
Avoid daisy-chaining power strips or sharing a circuit with concession equipment, custodial machines, or other high-draw devices. Dedicated circuits are often the cleaner choice for larger school dance systems.
Inspect plugs and extension cords before use, and keep liquids away from outlets and power devices. Route power and signal cables separately where practical. Stop using any cable or power device that is warm, damaged, or overloaded.
Keep Cables, Equipment, and Exits Protected
A DJ setup should look organized because it is organized. Loose cords, unstable speaker stands, and blocked exits can turn a normal setup into a preventable hazard.
Physical setup
- Initial sound check: Walk the entire setup area before powering up, including exits, aisles, and court traffic.
- Use stable, weighted speaker stands, and secure them so they can’t shift during the event.
- Complete a speaker check covering stand stability, height, aiming, and enclosure security.
- Keep subwoofers protected from balls, carts, foot traffic, and accidental contact.
- Place cable ramps or approved tape over every cable crossing.
- Keep cords out of exits, aisles, and court traffic.
- Route power and signal separately where possible.
- Don’t daisy-chain power strips.
- Check circuit load and inspect every plug for damage before connecting power.
Signal and microphone testing
- During the microphone and playback sound check, secure wireless-microphone batteries and test a wired microphone.
- Make microphone announcements from the front, center, and back of the gym.
- Test playback from the actual laptop/controller and the backup device.
- Mute unused channels before playback begins.
Feedback prevention
- Keep microphones pointed away from speakers.
- Use conservative gain and EQ settings throughout the event.
- If feedback begins, lower microphone gain before raising the master level.
- Repeat the speaker check to confirm coverage without pointing microphones directly at speakers.
Volume and listening safety
- Start at a moderate, staff-approved volume.
- Use a meter if available, and watch for rising levels during crowded moments.
- Prioritize speech intelligibility over loudness.
- Schedule listening breaks for students, staff, and the event crew.
- A controlled “bass mix” or short “bass drop” may reveal rattles, but a “bass boosted” track or “hard bass” should never be used as a reason to exceed the school’s approved level.
- Ignore advice from the online audio world that recommends extreme volume for a gym. Staff guidance and safe listening take priority.
Approved playlist
- Use a school-approved test playlist only if these examples are actually part of the approved event repertoire and have clean edits: a JBL DJ song, a trending song, a competition song, a viral DJ song, another viral DJ song, a DJ Krishna selection, another DJ Krishna selection, plus DJ Preet and DJ Manav. Choose them because they provide different vocal, instrumental, and bass characteristics, not simply because they are popular.
Final walk-through and backups
- Final sound check: After students or staff are in representative listening positions, complete a final walk-through from the front, center, and back. Judge the audio performance for clarity and coverage, not loudness.
- Keep spare cables, adapters, batteries, and a second playback device ready.
- Store offline copies of the clean playlist on both playback devices.
- Follow a clear pause-and-contact-staff procedure: stop playback for any power, feedback, equipment, or student-safety problem, then contact staff before continuing.
Frequently Asked Questions
Why is a sound check important in a school gym?
A school gym’s hard surfaces can create reflections, echo, uneven coverage, and harsh sound. A proper sound check helps ensure clear announcements, comfortable listening levels, and reliable music throughout the event.
Where should DJ speakers be placed in a gymnasium?
Place the speakers where they can cover the dance floor evenly, aiming them toward listeners rather than directly at walls or across the entire building. Raise them on stable stands and check the sound from the front, center, rear, bleachers, and walls.
How loud should a school dance sound system be?
Start at a moderate, staff-approved level and prioritize speech intelligibility over loudness. Use a meter if available, monitor levels as the gym fills, and never use bass-heavy music or a bass drop as a reason to exceed approved volume limits.
What should be tested during a DJ sound check?
Test speech, full-range music, low-level bass, each main speaker, microphones, the actual playback devices, and the backup device. Also check feedback prevention, cable safety, stand stability, power connections, and coverage throughout the room.
What should a DJ do if there is feedback or an equipment problem?
Lower the microphone gain first if feedback begins, and keep microphones pointed away from speakers. For any power, equipment, or student-safety concern, stop playback and contact school staff before continuing.