A wireless microphone can keep an event moving, or stop it cold with one pop, dropout, or dead battery. The difference usually comes down to planning, not luck.
This wireless microphone guide helps corporate planners, private hosts, and event coordinators choose equipment for the room, program, and speakers. Clear audio keeps presentations professional, ceremonies meaningful, and guest announcements easy to follow.
Start with the event itself, then build the wireless setup around it.
Key Takeaways
- Start with the event schedule, speaker roles, room layout, and number of microphones needed at the same time.
- Choose the microphone style that fits the speaker: handheld for announcements and handoffs, lavalier for hands-free presentations, and headset for active presenters.
- Coordinate frequencies carefully, especially when using several microphones or working in rooms with heavy Wi-Fi, Bluetooth, LED equipment, or other wireless systems.
- Place receiver antennas with a clear line of sight, complete a full walk test, and check every microphone at realistic speaking volumes.
- Use fresh or fully charged batteries, keep a tested backup microphone ready, and involve an AV professional for complex or high-stakes events.
A Wireless Microphone Guide Starts With Event Needs
A wireless microphone system has three main parts: a microphone, a transmitter that sends sound through radio waves, and a receiver that sends audio to a speaker system or mixing board. A handheld microphone often has the transmitter built into its handle. A lavalier or headset unit is an external microphone connected to a small bodypack transmitter worn on a belt or hidden in clothing.
A helpful wireless microphone system breakdown from Crutchfield explains how these pieces work together, much like the same basic architecture used in broadcast microphones. For an event planner, the key point is simple: every microphone needs a compatible wireless transmitter and receiver on an available channel. One receiver channel cannot support two people speaking at the same time.
Begin with the run of show. Count every person who may need to speak, sing, lead a toast, or make an announcement. Then consider when they will speak. A company president may only need a microphone for ten minutes, while a wedding officiant needs reliable audio throughout the ceremony.
A two-person panel needs two active microphone channels. A corporate awards dinner may need a host microphone, a backup microphone, and a presentation microphone near the podium. A private party may only need one handheld microphone for announcements and speeches.
Also consider the room. A hotel ballroom, school gymnasium, backyard tent, and conference center may all look suitable for wireless audio. Walls, metal fixtures, LED screens, Wi-Fi networks, nearby television stations, and the number of guests can affect the local radio frequency environment.
For first-time users, a short wireless microphone buying overview can make the basic equipment easier to recognize. Still, a successful event depends on matching the system to the setting, rather than choosing a microphone based on appearance alone.
Plan for the Room Before Choosing Equipment
The room affects sound quality long before the first guest arrives. A large ballroom may need speakers placed farther apart, while a smaller meeting space may need lower volume and tighter microphone control. Outdoor events add wind, distance, weather, and fewer hard surfaces to reflect sound back to the audience.
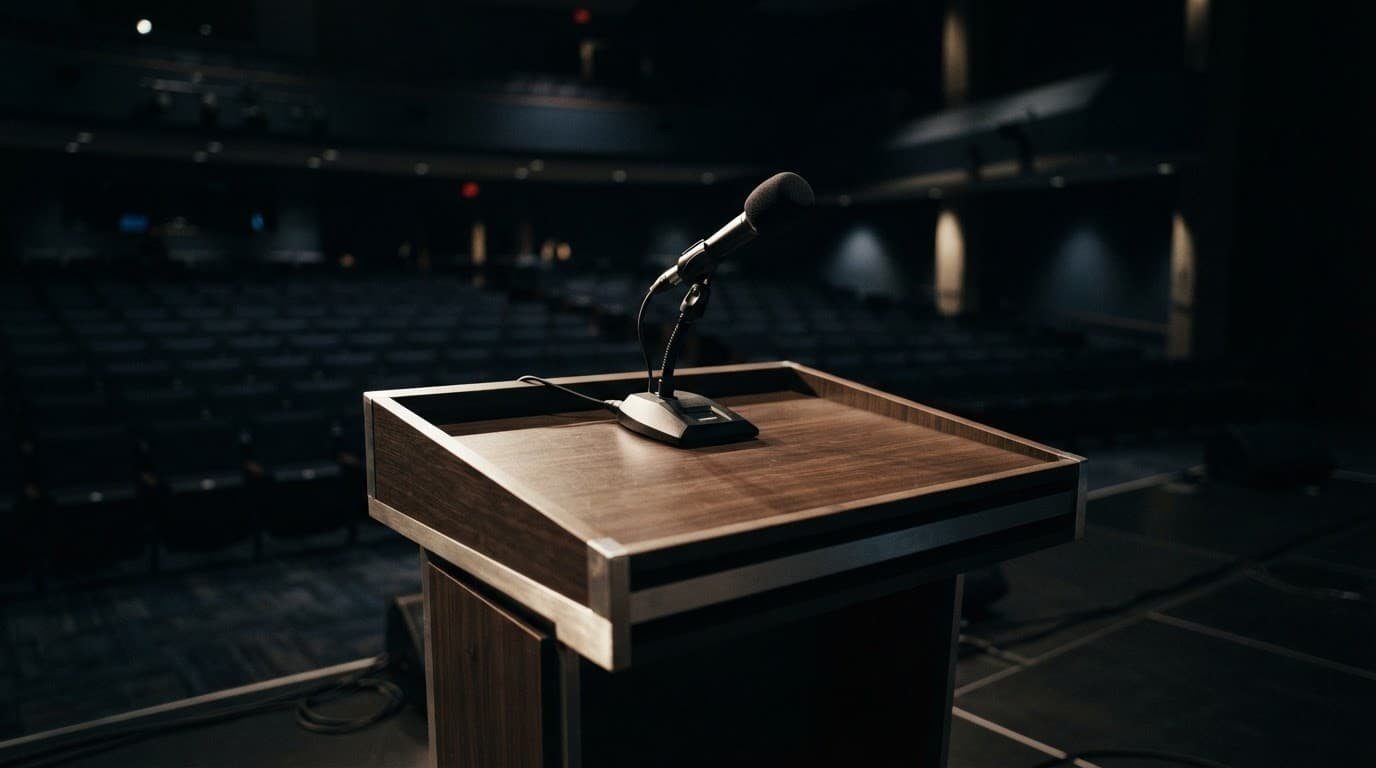
Walk through the venue with the event schedule in hand to map the wireless setup. Look for the podium, stage, head table, dance floor, guest seating, power outlets, and the location where the receiver rack or DJ setup will sit. Keep the wireless receiver close enough to the speaking area, with a clear line of sight to the transmitters.
The following planning notes prevent many common problems:
- Confirm how many microphones may be live at the same time, not only how many people are listed on the agenda.
- Ask whether the venue has in-house Wi-Fi, broadcast equipment, LED walls, or installed wireless systems that may affect nearby equipment.
- Find out where speakers will stand, walk, or pass microphones during the event.
- Check antenna placement and keep the receiver area dry, secure, and away from guest traffic, especially at tented events and outdoor celebrations.
- Reserve time for a full sound check before guests arrive, including a walk test across the stage and audience area.
- Plan a wired backup microphone for high-stakes moments such as vows, keynote speeches, auctions, or award presentations.
A room with poor planning can make a quality system work harder than it should. A well-planned room gives the presenter confidence and helps the audience hear every important word.
Choose the Right Wireless Microphone Type
The best microphone is the one that fits the speaker’s role. A handheld microphone gives the user control and is easy to pass between people. A lavalier microphone keeps hands free. A headset microphone stays close to the mouth, which helps when a speaker is moving, teaching, or performing. Choosing by role also supports consistent audio quality across live sound applications.
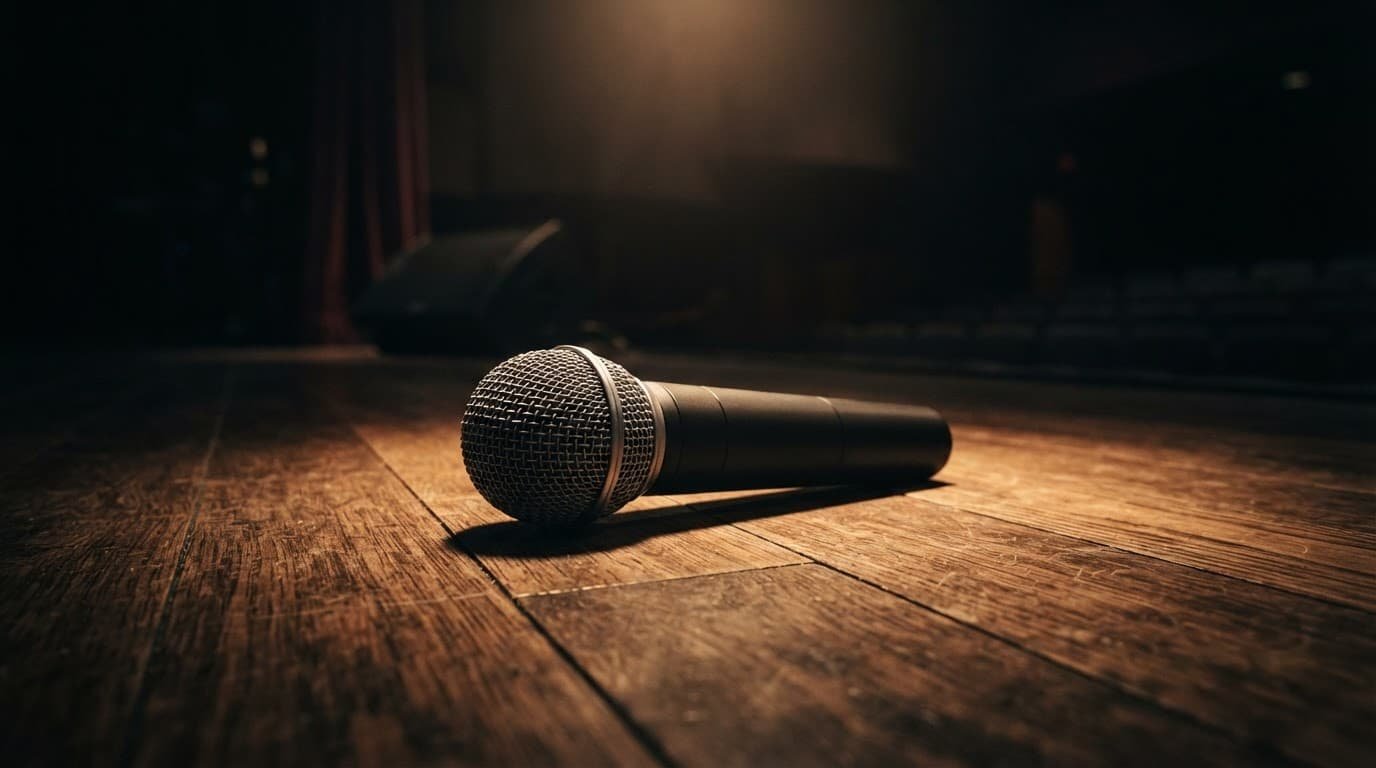
This quick comparison can help narrow the choice for event settings. Broadcast microphones are often optimized for controlled studio or camera use. Event microphones must handle movement, handoffs, and changing distances.
| Microphone Type | Best Fit | Main Advantage | Watch For |
|---|---|---|---|
| Handheld microphone | Toasts, Q&A sessions, singers, event hosts | Easy to share and simple to operate | The speaker must keep it near their mouth |
| Lavalier microphone | Officiants, presenters, corporate speakers | Hands-free and discreet | Clothing rustle and placement can affect sound |
| Headset microphone | Fitness instructors, performers, active presenters | Consistent sound while moving | Must be fitted comfortably and positioned correctly |
| Bodypack instrument system | Musicians with guitars or instruments | Allows movement without a cable | Needs proper gain settings and a secure connection |
A handheld microphone is often the most dependable choice for announcements, awards, and audience questions. It gives the speaker a clear visual reminder to speak into the microphone, and it can move quickly from one guest to the next. For a wedding toast, a handheld microphone is usually more practical than trying to clip a lavalier on someone who only speaks for two minutes.
A lavalier microphone, also called a lapel mic, is a strong option for an officiant, presenter, or executive who needs both hands free. Secure the bodypack transmitter, then position its external microphone capsule near the upper chest, away from loose fabric, necklaces, scarves, or anything that may brush against it. Test the clothing choice during sound check, not five minutes before the ceremony.
A headset microphone works well when the presenter moves across a stage or leads an interactive program. Because it stays close to the mouth, the sound remains more consistent than a lavalier when the speaker turns their head.
A practical selection process should never treat one style as the answer for every event. AVIXA’s guidance on choosing a wireless microphone system is also useful when comparing microphone styles, receiver features, and event requirements.
UHF, 2.4 GHz, Analog, and Digital Wireless Systems
Wireless microphones communicate over a frequency band, which is a portion of the radio spectrum. The frequency band used by a wireless microphone system affects how many microphones can operate together, how well signals travel through busy rooms, and what local rules may apply.
UHF wireless microphone options are common for professional events because they offer more frequency choices and support multi-channel setups. A UHF wireless microphone can be a dependable choice for conferences, weddings with several speakers, school events, and larger private celebrations.
The 2.4 GHz frequency band is also popular, especially in compact and simple systems. It is shared with Wi-Fi, Bluetooth devices, and many other consumer electronics. That doesn’t make it a poor choice, but it does make advance testing important. A busy hotel ballroom with hundreds of phones and multiple wireless networks may not be the right place to discover whether a low-cost 2.4 GHz system has enough room to work well.
| System Type | What It Does Well | What Requires Attention |
|---|---|---|
| Analog UHF | Familiar operation and low delay | Frequency coordination and possible radio noise |
| Digital UHF | Clear audio and flexible channel management | Battery use, menu setup, and digital processing delay |
| 2.4 GHz wireless | Convenient for smaller, lower-channel-count events | Congestion from Wi-Fi and Bluetooth devices |
| Multi-channel system | Strong option for several microphones at one event | Requires professional frequency planning |
Analog event systems send sound as a continuously changing radio signal, while broadcast microphones often operate in controlled environments. They often use audio processing called companding, which reduces unwanted noise during transmission and can improve the signal-to-noise ratio.
A digital wireless system converts sound into data before sending it to the receiver. Depending on the model, it may offer cleaner audio quality, frequency agility that lets the system move to a cleaner channel, noise cancellation, or encryption for private business discussions.
Neither format is automatically right for every event, and digital features can affect battery life in live sound applications. Test the system with the actual speakers, room layout, and sound system. Pay attention to latency, which is the slight delay between speaking and hearing the sound through speakers. Most well-configured event systems keep it low enough that speakers won’t notice it, but it should still be checked.
Shure’s wireless system selection guide offers a useful look at analog, digital, UHF, and VHF options. Before renting or buying, verify that the equipment is approved for use at your event location. Frequency legality and interference conditions vary by location. Local radio frequency rules and television use can change which channels are available in a given city.
A microphone that works perfectly in one venue may need different frequencies at the next venue. Radio conditions are local.
For larger events, an AV professional or rental provider should scan the room and coordinate frequencies before doors open. This helps a wireless microphone system avoid interference when several microphones need to work together.
Build a Reliable Wireless Setup With Smart Antenna Placement
A wireless transmitter and receiver need a clear radio path for a reliable wireless microphone system. That is why line of sight matters. Receiver antennas should have the best possible view of the microphone area.
Walls, metal, people, and large fixtures can weaken a radio signal. Human bodies contain a great deal of water, which can absorb radio energy. A bodypack transmitter covered by a jacket, turned away from the receiver, and used behind a large LED wall has a harder job than one with a clear path.
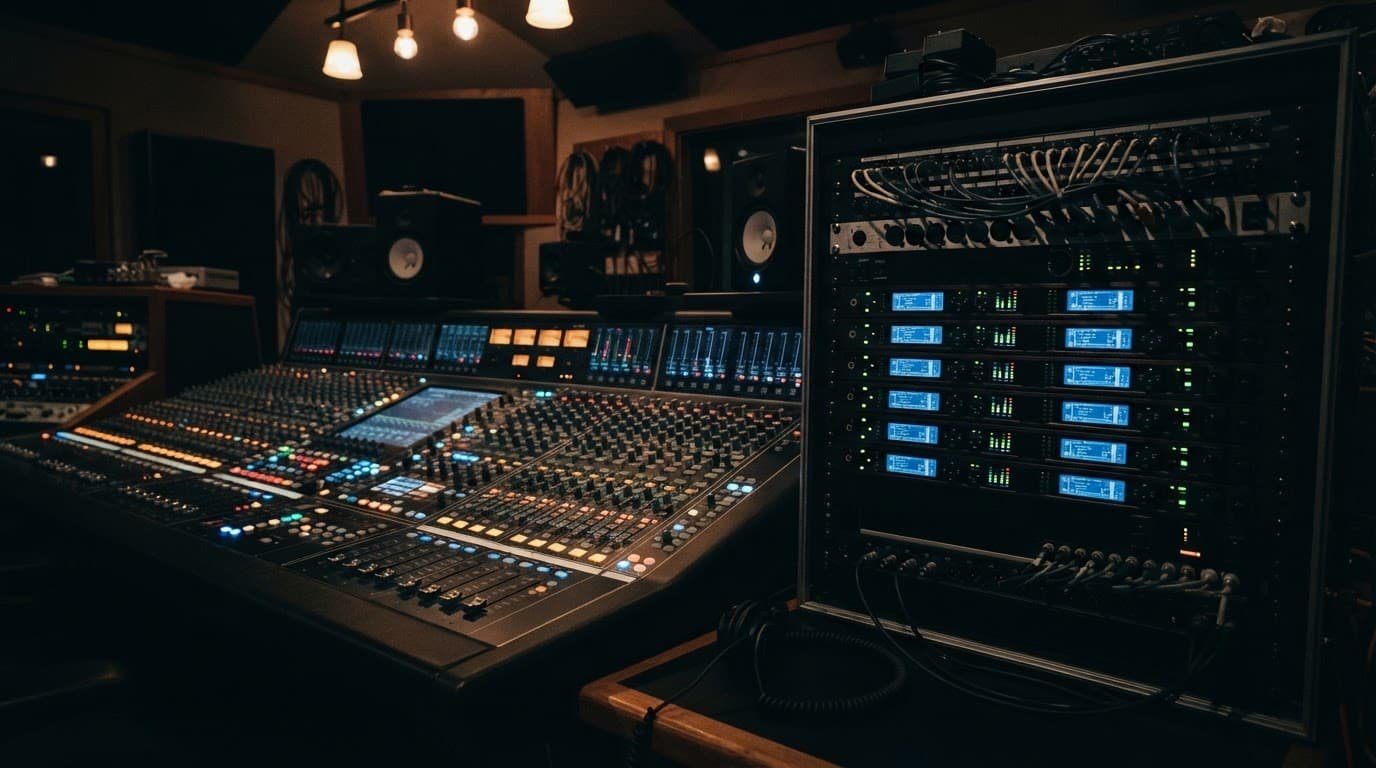
Place receiver antennas upright when using the included antenna mounts. Good antenna placement keeps them visible and away from metal racks, large power supplies, speaker cabinets, and tangled cable bundles. Do not bury the receiver behind a DJ facade, beneath a stage, or inside a crowded equipment case.
For a longer room or stage setup, remote antennas may be placed closer to the performance area. A professional can use proper antenna cable and distribution equipment to keep signal loss under control. This is especially helpful when the receiver rack must sit at the back of a ballroom while speakers use microphones near the front.
True diversity reception is another helpful feature. A true diversity receiver uses two separate receiving paths and chooses the stronger signal as conditions change. It is not a substitute for good antenna placement, but it gives the system more protection against brief signal dropouts caused by movement or reflections in the room.
Automatic frequency selection can save time, but it should be used correctly. Many systems can scan for open frequencies and suggest channels with less interference. Frequency agility lets compatible systems change channels when interference appears. For a multi-channel system, scan and coordinate all microphones as a group. Do not set up one microphone at a time and assume the next available channel will work alongside the others.
Use this setup routine for battery management and other checks before guests arrive:
- Turn on the receiver system before the transmitters, then scan the room for available frequencies.
- Assign coordinated frequencies to every channel, and label each microphone by purpose, such as podium, host, officiant, or backup.
- Place fresh batteries or fully charged approved battery packs in every transmitter, and verify expected battery life before the event.
- Walk each microphone through the full speaking area while someone listens through the event speakers. Check line of sight between the transmitter and receiver during the walk test.
- Check the microphone at normal speaking volume, louder presentation volume, and a few feet away from the mouth.
- Keep one tested backup microphone ready, with its receiver channel already connected and muted until needed.
This careful approach gives the DJ, host, or AV team time to solve problems before they become part of the program.
Protect Battery Life and Prepare for the Unexpected
Battery life is part of event planning, not an afterthought. Battery management starts with understanding how usage affects runtime. Battery age, rechargeable battery condition, transmitter settings, and temperature can all reduce expected run time.
Use fresh, matching batteries for important events. If the system uses manufacturer-approved rechargeable packs, charge them fully and check their condition before leaving for the venue. Avoid mixing old batteries with new ones, or combining different brands and battery types in the same event kit.
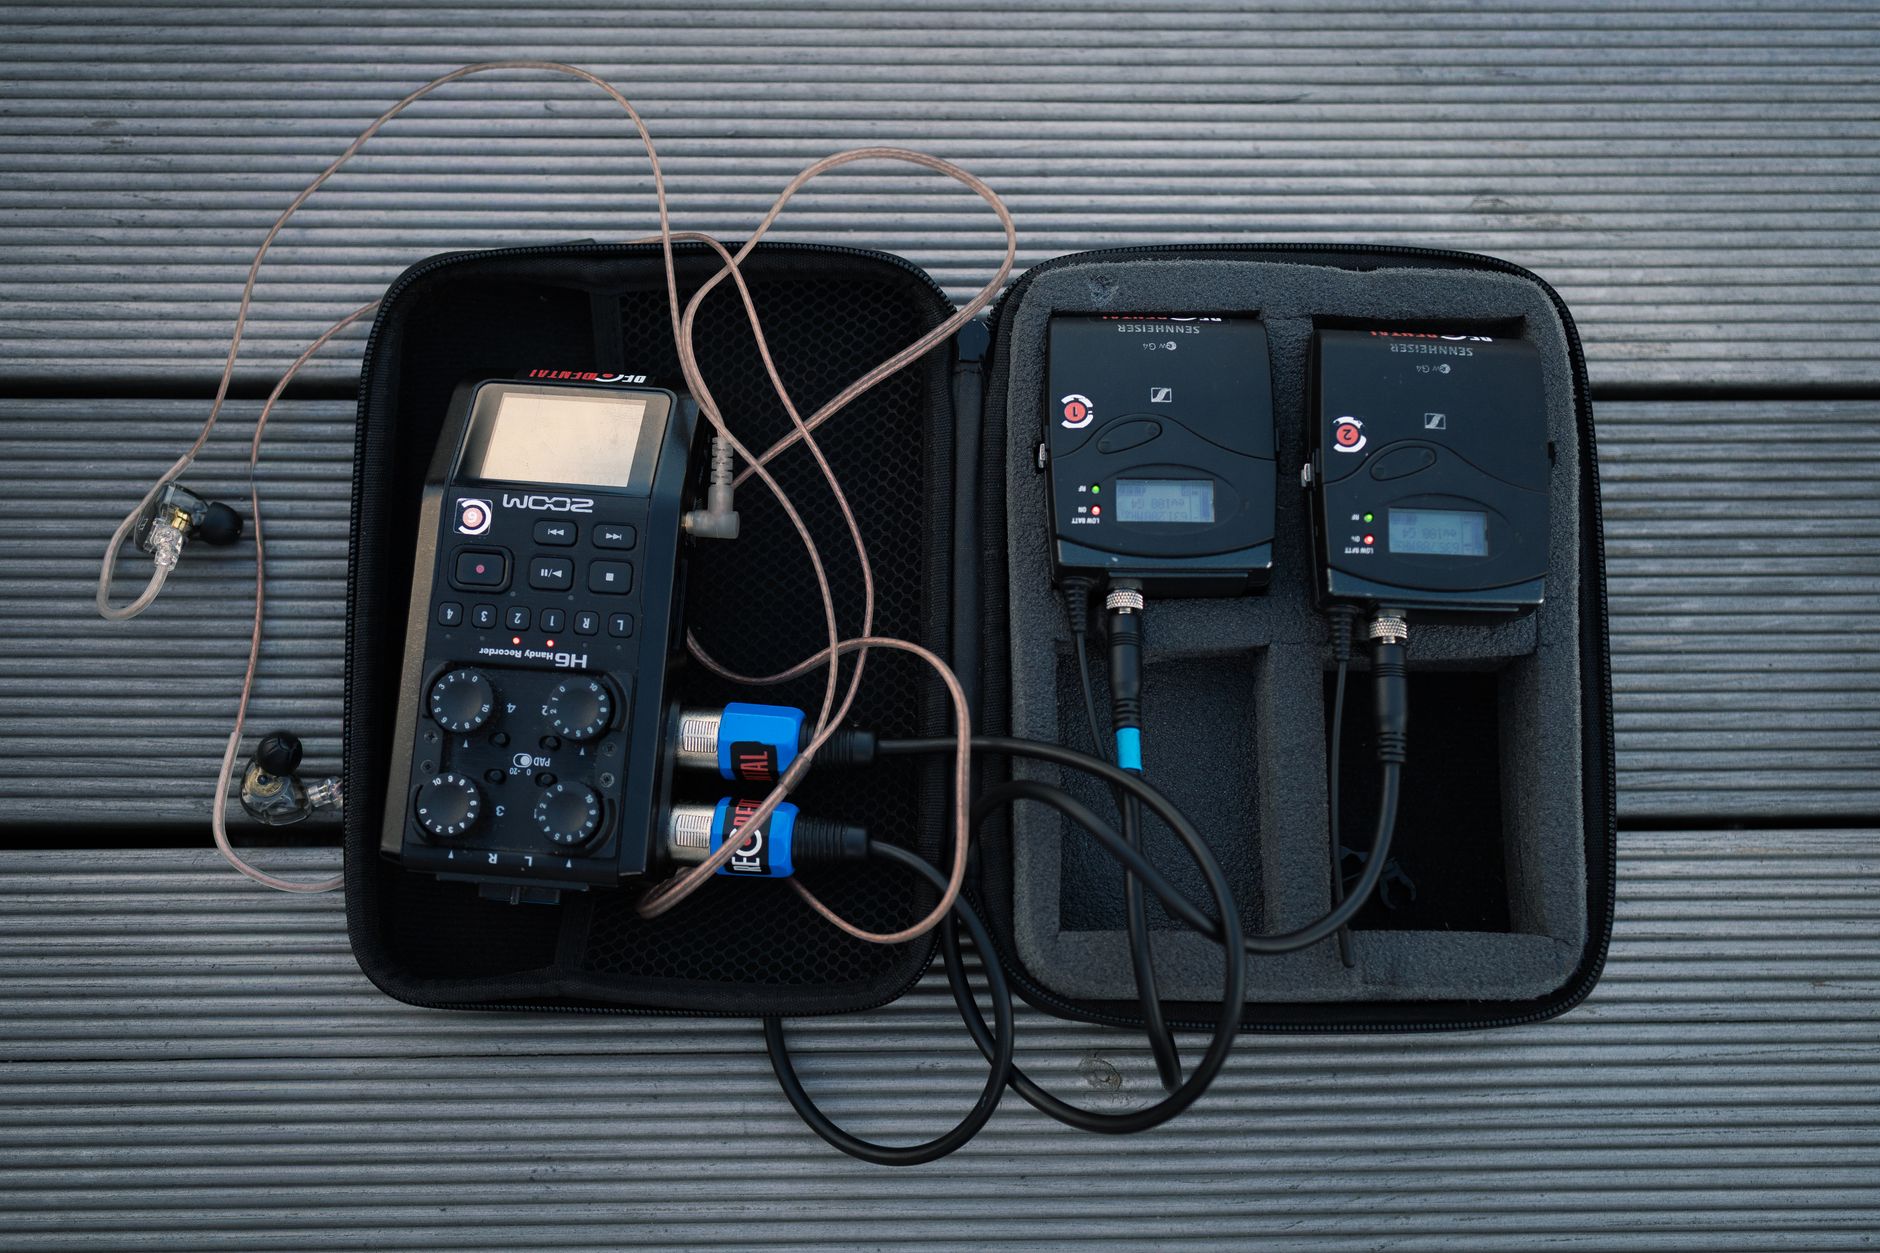
Photo by Vladislav Anchuk
Keep spare batteries in a labeled case, not loose in a pocket or equipment bag. For an all-day conference, plan a battery change between sessions, even if the indicator still shows healthy battery life. Before the event, check the remaining battery life and note the expected runtime. That short pause is much easier than changing a battery during a keynote.
Audio issues are not always wireless issues. If the receiver signal meter stays strong but audio is distorted, substitute an external microphone to test the source. Check transmitter gain and use gain assist when available to set transmitter input levels. Noise cancellation is model-dependent and cannot correct clipping, poor microphone technique, or radio interference. If the receiver loses radio signal, check antenna placement, transmitter power, distance, and possible interference.
A backup plan should be simple enough that the event team can use it under pressure. Keep a wired microphone ready at the podium, or maintain a second wireless channel that has been tested. The goal isn’t to fill the table with extra gear. It is to protect the moments guests will remember.
When a Professional AV Partner Is the Better Choice
Small birthday dinners may be easy to manage with one microphone. Corporate programs and weddings often need a coordinated wireless microphone system for speakers, panels, video playback, and walk-on music. The same is true for school productions, charity auctions, and events held in unfamiliar venues.
An experienced DJ, AV provider, or rental partner can inspect the room, select appropriate frequency bands, coordinate multiple channels, place antennas, and manage the sound check. They can also coordinate with venue staff when the property has installed audio equipment or frequency restrictions.
Ask direct questions before booking support. How many wireless channels will be active, and which equipment do you recommend, such as a UHF wireless microphone? Who handles frequency coordination, where will the receiver equipment be placed, and is a backup microphone included? What battery life should you expect for an all-day program? Who handles the sound check, and what is your battery management plan for battery changes and spares? What happens if a microphone loses power or develops interference during the program?
A quality provider will have clear answers, relevant experience with broadcast microphones and live sound applications, and a practical plan. Sweetwater’s wireless microphone buying guide is a useful reference for comparing features, but high-stakes events also benefit from a person who can hear a problem, respond quickly, and keep the program moving.
Frequently Asked Questions
How many wireless microphones do I need for an event?
Plan for every person who may need to speak at the same time, not only the total number of speakers on the agenda. A panel needs one active channel per speaker, while a smaller event may only need one microphone plus a tested backup.
Which wireless microphone type is best for presentations?
A handheld microphone works well for announcements, awards, toasts, and audience questions. A lavalier keeps the speaker’s hands free, while a headset is usually better for presenters who move frequently.
Is UHF or 2.4 GHz better for wireless microphones?
UHF systems generally offer more frequency choices and are often preferred for professional or multi-channel events. 2.4 GHz systems can be convenient for smaller setups, but they may experience congestion from Wi-Fi, Bluetooth, and other consumer devices.
How can I prevent wireless microphone dropouts?
Keep the receiver antennas upright, visible, and away from metal, power supplies, and crowded equipment areas. Coordinate frequencies, maintain a clear line of sight, and walk-test every microphone through the full speaking area before guests arrive.
How should I prepare batteries and backups?
Use fresh matching batteries or fully charged approved battery packs, and carry labeled spares in a dedicated case. For important events, keep a tested wired microphone or second wireless channel ready so the program can continue if a battery or transmitter fails.
Reliable Audio Keeps the Focus Where It Belongs
The right wireless microphone system is about more than convenience. It gives speakers confidence, keeps guests engaged, and ensures important words reach everyone in the room.
Use this wireless microphone guide to plan for the venue, choose the right microphone style, coordinate frequencies, and prepare a backup. Careful planning and testing improve audio quality, so the event feels organized, polished, and easy for everyone in the room.