A wedding toast can be heartfelt, funny, and beautifully written, but none of that matters if the back tables can’t hear it. A microphone that squeals, cuts out, or sits at arm’s length can turn a meaningful moment into a stressful one.
The best advice is simple: prepare the words, practice the delivery, and respect the sound system. A few minutes of coordination before guests arrive helps speakers feel confident and gives the DJ time to solve small problems before they become interruptions.
Great toasts don’t need perfect public speaking. They need a clear voice, a warm message, and a smooth handoff at the right moment. Clear audio lets the newlyweds enjoy the moment with their guests.
Key Takeaways
- Keep the toast short, personal, and easy to follow, with a clear beginning, story, sincere wish, and closing toast.
- Hold a handheld microphone three to four inches from your mouth, point it toward your mouth, and keep it steady throughout the speech.
- Coordinate the toast order, speaker positions, microphone handoff, and backup equipment with the DJ and venue team before guests arrive.
- Complete a real sound check, use fresh batteries for wireless microphones, and let the DJ handle volume or feedback problems.
- Practice the speech out loud with readable notes, clear pauses, and a comfortable microphone position so the delivery feels natural.
Start With a Simple Toast Plan
The best toast tips begin with a wedding toast that’s short, personal, and easy for every guest to follow. The speaker should know where to stand, when to begin, and who will hand over the microphone. Practice that handoff before the wedding speech begins.
For most wedding celebrations, a toast of two to three minutes feels comfortable. This speech length gives the speaker room for a meaningful story without keeping guests seated through long remarks between dinner courses or dancing.
Use a Toast Structure That Feels Natural
A reliable wedding speech has a clear speech structure, with a beginning, middle, and closing. It doesn’t need to sound scripted or overly formal.
Start by introducing yourself and sharing your connection to the couple. Tell one personal story that shows something positive about their relationship, then include a genuine wish for their future. Finish by inviting guests to raise their glasses.
Keep both newlyweds in the spotlight. A best man may know one partner longer, while a maid of honor may have years of stories to share, but the toast should celebrate the bride and groom and the couple as a team.
Avoid Stories That Leave the Room Behind
Inside jokes, stories about exes, and roast-style humor can create an awkward pause fast. If guests need background information to understand the punchline, it probably doesn’t belong in the speech.
A good test is simple: would the story still feel kind if a grandparent, a work colleague, and their parents all heard it together? If the answer is no, choose another memory.
The best wedding humor makes the couple feel loved, not like they need to recover from it.
Hold the Microphone Like It Matters
Even a professional sound system can’t fix poor microphone placement when the microphone moves away from the speaker’s voice. The goal is steady microphone placement, not a dramatic performance.
Keep It Close and Steady
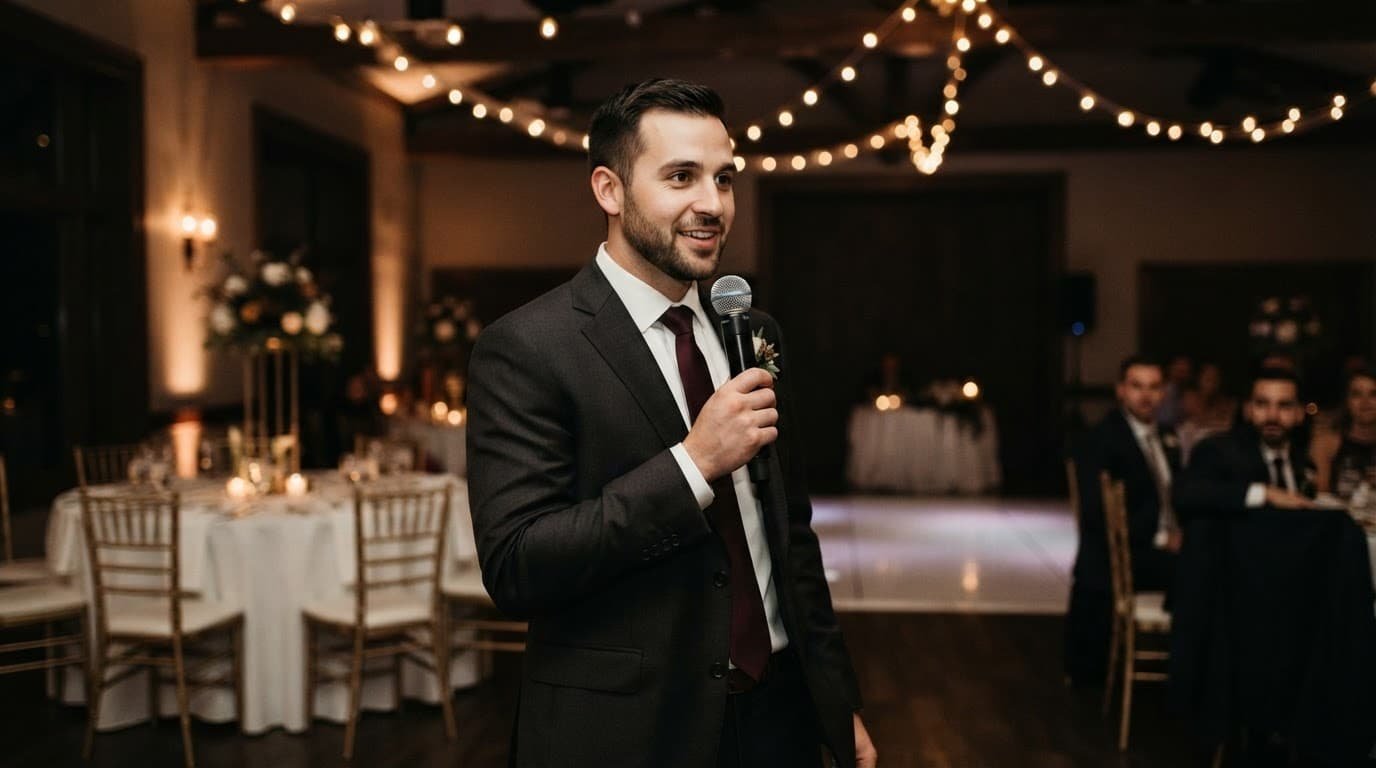
Consistent microphone placement helps keep your voice clear from start to finish. Hold a handheld microphone like an ice cream cone, about three to four inches from your mouth. Point the top of the microphone toward your mouth, not your chest or the ceiling.
Speak across the top at a slight angle if you tend to make sharp “p” or “b” sounds. This keeps your voice clear without blasting air directly into the microphone.
Don’t drop the microphone to your side while pausing for laughter. Guests may still hear a few words after the laugh, and the DJ can’t adjust quickly enough to follow every hand movement.
Give Your Free Hand a Job
Use your free hand for a note card, a glass before the toast begins, or a relaxed gesture. Avoid covering the microphone grille with your hand. That changes how the microphone picks up sound and can make your voice less clear.
If a microphone stand is available, it can be a comfortable choice for a nervous speaker. Adjust the height before beginning, stand close, and keep both hands free for your notes.
These small habits and good microphone technique let guests focus on the sentiment instead of straining to hear it.
Give the DJ and Venue a Clear Toast Plan
The best time to troubleshoot is before guests take their seats. The DJ, planner, and venue coordinator should set the toast order during the final timeline review, before the reception starts.
That plan should include who is speaking, whether anyone needs a microphone stand, where speakers will stand, and who gives the cue to begin. The couple should practice the handoff with the planner or DJ before guests arrive. It also helps to identify a family member who can locate speakers before their turn.
Complete a Real Sound Check Before Guests Arrive
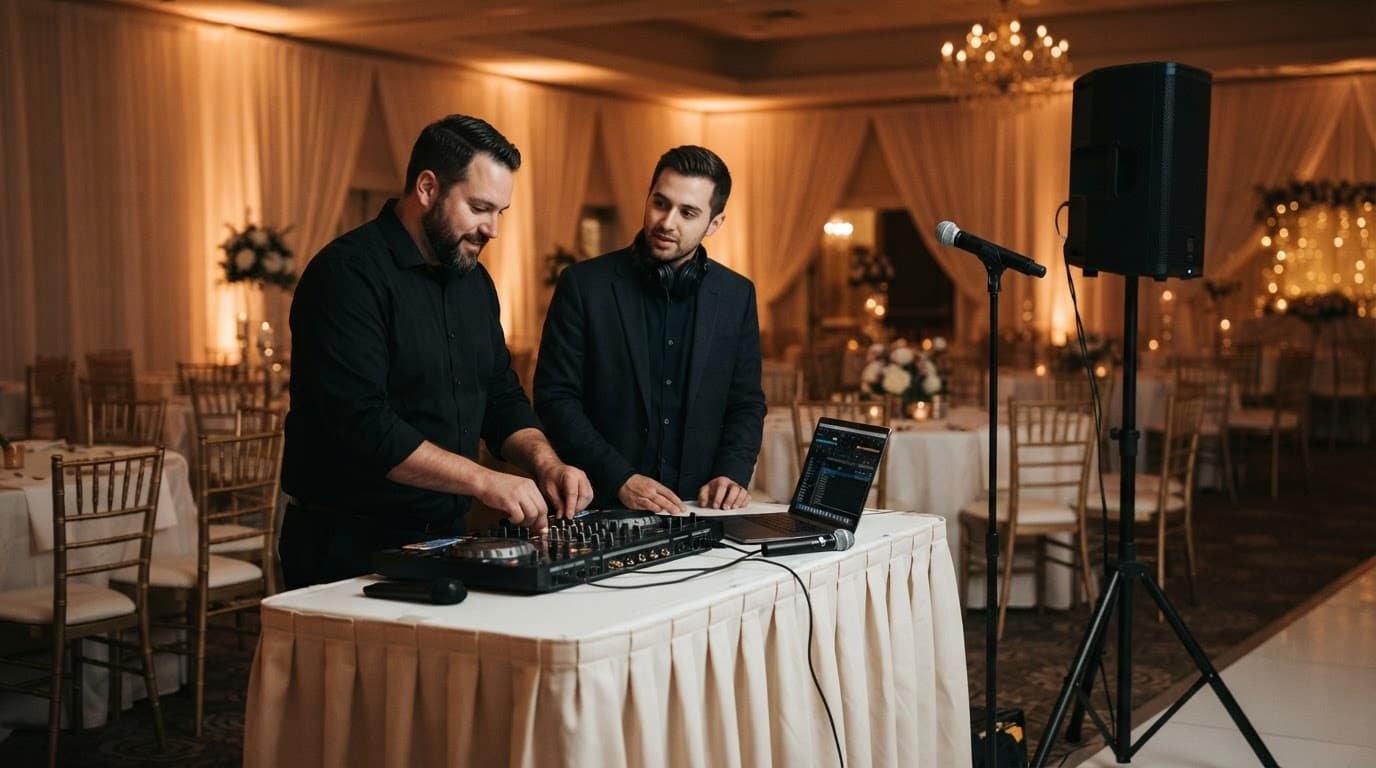
A sound check is more than turning a microphone on. The DJ should test microphone placement where the toast speakers will actually stand, with the audio speakers at reception volume.
Barns, ballrooms, tents, and restaurant rooms all behave differently. High ceilings, glass, wood walls, and crowded tables can change the audio quality once the room fills up.
The DJ should also check the venue’s built-in system if it will be used. Some rooms have fixed speakers or house controls that require coordination with a venue technician.
A Quick DJ Checklist for Toasts
Before cocktail hour or dinner, confirm these details:
- Test every planned microphone, including a wired mic as a backup, and install fresh batteries in wireless units.
- Confirm the toast order, speaker names, and the person who will make introductions.
- Place speakers where they face guests, not directly toward the microphone position.
- Keep a clear path for passing the microphone between speakers.
- Set water near the toast area, but away from audio equipment and cables.
- Have a short music cue ready for the transition back to dinner, dancing, or the next reception moment.
A professional DJ doesn’t need to overcomplicate the setup. Clear communication and a tested backup plan keep the atmosphere relaxed.
Prevent Feedback, Buzzing, and Wireless Dropouts
Feedback is the high-pitched squeal that happens when a microphone hears its own amplified sound through the speakers. Poor microphone placement can trigger the squeal near a PA speaker. Pointing it at the speaker or holding it far away can also cause the squeal when volume is too high.
Shure’s sound-control guidance recommends keeping the microphone close to the intended sound source. For a toast, that means the speaker’s mouth. A closer microphone needs less amplification, giving the DJ more room before an audio problem starts.
Let the DJ Control the Volume
If the microphone sounds too quiet, don’t move closer to a speaker or ask a friend to adjust the mixer. Stay in position and signal the DJ. The DJ can raise the level safely and make changes based on the room.
“Gain” is the strength of the microphone signal before it reaches the speakers. Too little gain makes voices weak. Too much gain can cause distortion or an audio problem. Good sound reinforcement is about finding the right balance for that room and that speaker.
Treat Wireless Microphones With Care
A wireless microphone gives speakers freedom to move, but it relies on batteries and a radio connection to its receiver. Static, buzzing, or brief dropouts can happen when batteries run low, the receiver is blocked, or nearby wireless devices create interference.
Use fresh batteries, keep the receiver near the reception area when possible, and don’t bury it behind furniture or metal equipment. Speakers should also avoid carrying the microphone into another room or outside the intended coverage area.
For important moments, a wired mic on a stand is a dependable backup. Shure’s feedback explainer also reinforces a practical rule: microphone placement matters as much as output level.
Practice Without Sounding Memorized
Practice is not about memorizing every line. It is about learning the shape of the toast, getting comfortable with the microphone, and knowing where to pause.
Read the speech out loud two or three times. Time it with a phone, then trim any section that repeats the same idea. If possible, practice standing up with a hairbrush or similar object in hand, holding it at the correct microphone placement so the real microphone won’t feel unfamiliar.
Bring Notes You Can Actually Read
A small card with large, clear bullet points works better than a full page of tiny text. Notes should guide the speaker, not become a shield held in front of their face.
A helpful speaker checklist includes:
- Print a final copy and keep a backup on your phone.
- Use key phrases rather than full paragraphs when possible.
- Take one slow breath before the introduction.
- Look at the couple often, then include the guests around the room.
- Pause after a meaningful line or a laugh instead of rushing ahead.
- End with a clear toast, then raise your glass after the final words.
A prepared wedding speech sounds personal because it is personal, helping the speaker relax, speak clearly, and enjoy the moment with the newlyweds.
Frequently Asked Questions
How close should I hold the microphone during a wedding toast?
Hold a handheld microphone about three to four inches from your mouth. Keep it steady and point the top toward your mouth rather than your chest or the ceiling.
What should I do if the microphone sounds too quiet?
Stay in your position and signal the DJ instead of moving closer to a speaker or adjusting the mixer yourself. The DJ can raise the level safely and account for the room’s acoustics.
How can I prevent microphone feedback during a toast?
Keep the microphone close to your mouth and avoid pointing it toward a speaker. If feedback starts, stay calm and let the DJ adjust the sound system.
Should I use a wired or wireless microphone?
A wireless microphone allows more freedom to move, but it depends on fresh batteries and a reliable signal. A wired microphone on a stand is a dependable backup for an important toast.
How much should I practice my wedding toast?
Read the speech out loud two or three times and time it with your phone. Practice the pauses, microphone position, and handoff so you can focus on the couple and guests during the reception.
A Clear Toast Becomes a Better Memory
A wedding toast should feel like a shared moment for the newlyweds, not a technical obstacle course. Keep the message warm, hold the microphone close, and give the DJ and venue team the details they need before the reception begins.
The most useful wedding toast microphone tips come down to preparation and consistency. When the words are ready and the audio is tested, every guest gets to hear the story that matters.